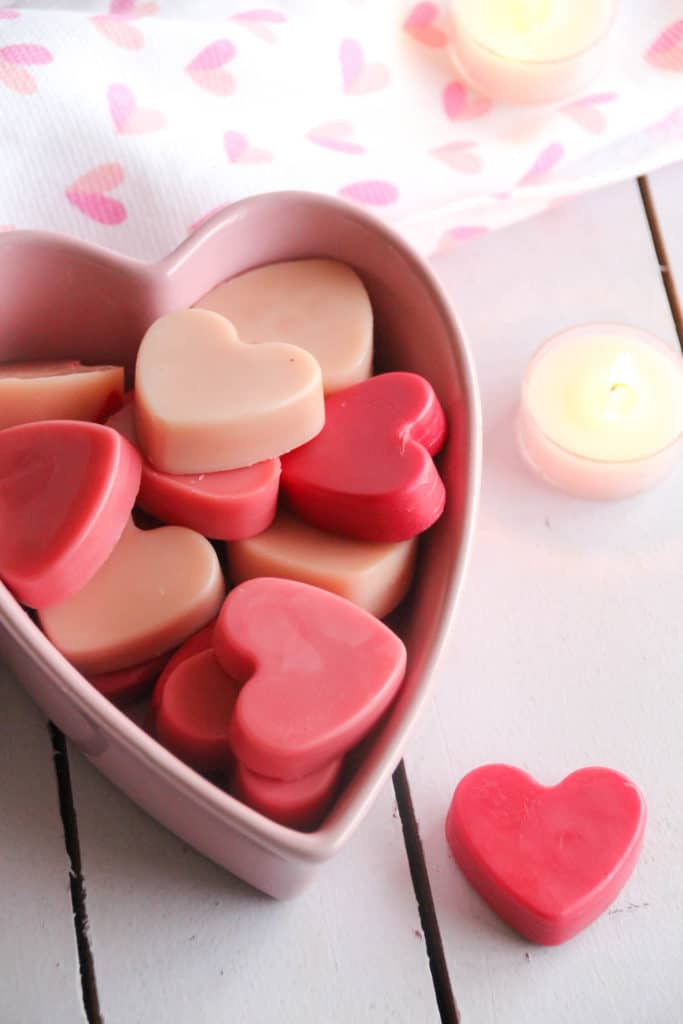
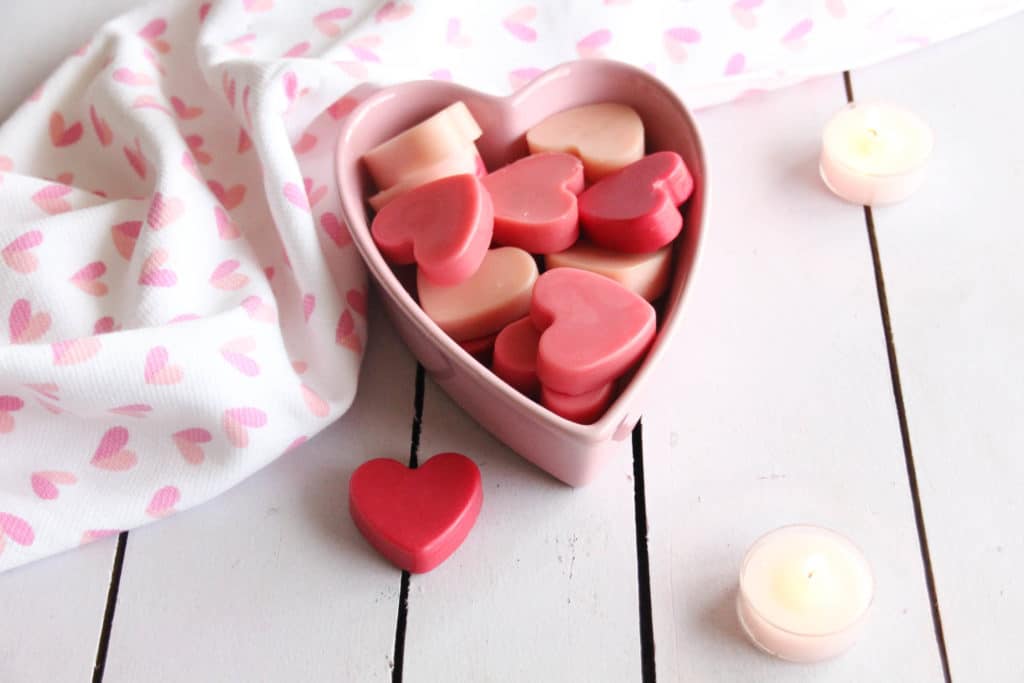
These sweet little lotion bars are the perfect blend of natural ingredients to soothe and soften dry, winter skin. Use a heart-shaped mold and a romantic blend of three essential oils to create a fun Valentine’s Day project out of this lotion bar recipe.
Why I Love Solid Lotion Bars
Solid lotion bars are super convenient (and super cute!). You can just as easily use them on rough, cracked heels or on your chapped lips. This lotion bar recipe uses a blend of shea butter, beeswax, and sweet almond oil to deeply nourish and moisturize your skin wherever you need it.
The simple, natural ingredients in this recipe are perfect even for the most sensitive, irritated skin.
Homemade lotion bars are also great for travel – pop 1-2 bars in an airtight bag or container, and they don’t count toward your liquid limit for carry-on bags. 😉
How to Choose a Mold for Lotion Bars
In this recipe, I chose a cute heart-shaped mold to shape these Valentine’s Day themed bars. But you can use this recipe with any mold you prefer, like these pretty flower molds or a simple square-shaped mold.
I like to use a smaller size because then it’s easier to keep the lotion bars in multiple locations in the house or on-the-go – and there’s always extra to spare for gifts!
These pink hearts will look particularly adorable in a mason jar with a colorful ribbon around the top.
Adding Color to Your Homemade Lotion Bars
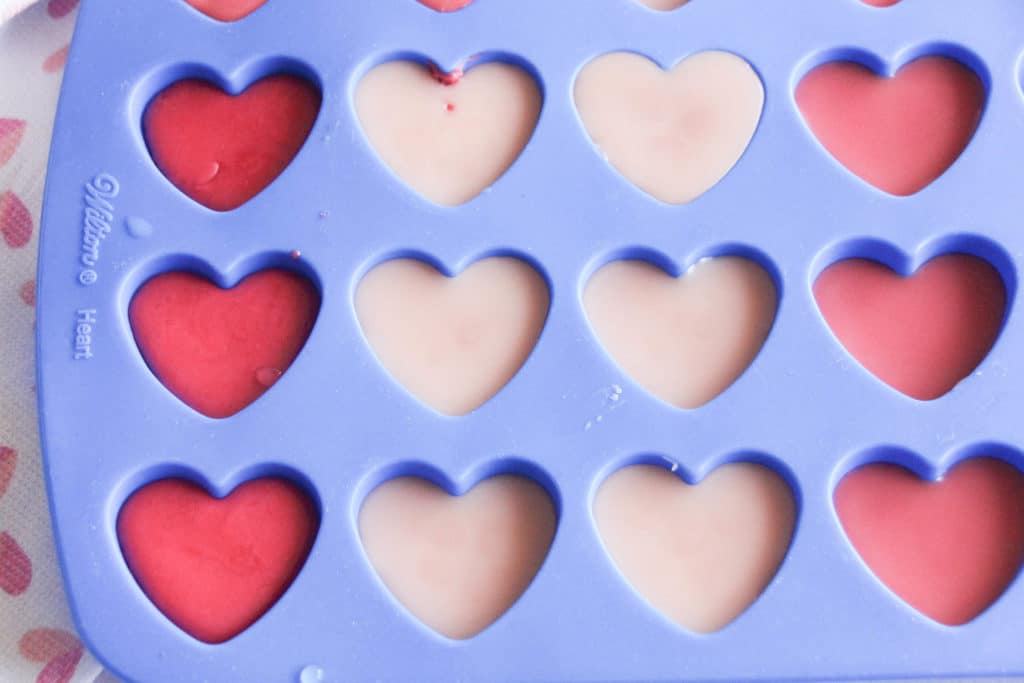
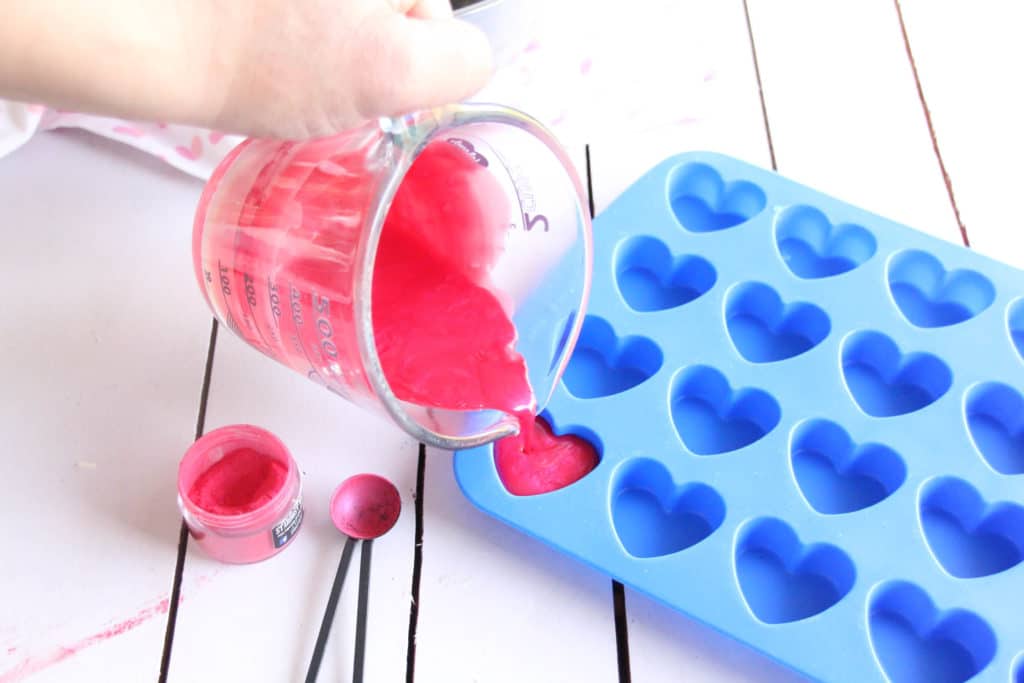
Add all-natural mica powder to this recipe to create beautiful colors for your lotion bars. I love using gradient colors, so I used dark pink mica powder to create dark pink, medium pink, and light pink hearts.
This creates a lot of interest and makes an especially beautiful gift, and it’s actually very simple to do. Separate your mixture into thirds, and add varying amounts of color to each part to create an “ombre” effect.
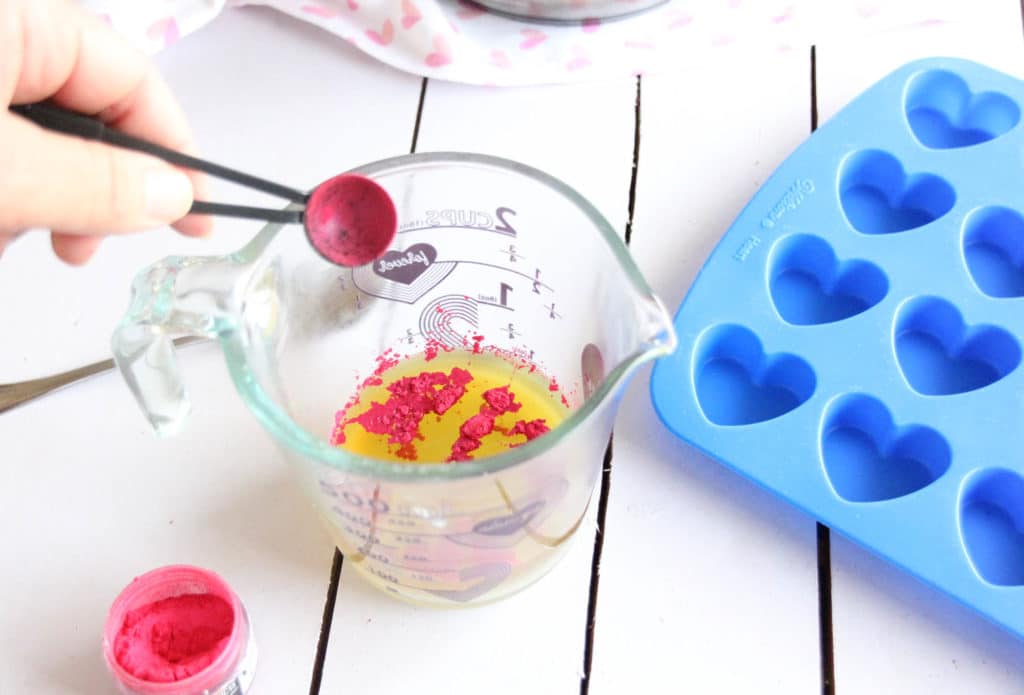
- Add 1/2 teaspoon for dark pink.
- Add 1/8 teaspoon for medium pink.
- Add two toothpicks for light pink (dip a toothpick into the powder and stir it into the melted oil – do this twice).
You can adjust the amount of mica powder used to deepen or lighten the final shade. You can also use this technique with other colors like purple mica powder or teal mica powder.
Tip: When doing multiple colors, pour one-third of the melted mixture into a glass measuring cup and stir in the mica powder. Then pour that colored mixture into the molds.
Leave the remaining mixture over low heat until you’re ready for it, making and pouring one color at a time. This prevents the remaining liquid from solidifying while you’re busy coloring the other part.
RELATED: Check out this list of over 40+ Homemade Lotion Recipes for more skin-nourishing inspiration!
FAQs
How do I use a lotion bar?
Massage your lotion bar directly onto areas that need soothing moisture, like cracked heels and elbows. Or, rub the bar into your fingers and then apply wherever needed with your fingers.
The natural heat from your skin will start melting the lotion bar, which releases those moisturizing oils and helps them spread more easily.
Can you use lotion bars in the shower?
Yes, you can! After cleansing and rinsing, rub the lotion bar into your skin and massage the moisture in with your hands. Your pores are usually more open after a warm shower, and this can help the oils absorb into your skin.
(Prepare for a little greasiness on your shower floor or towels, however.)
How long do lotion bars last?
Because this recipe doesn’t use any water-based ingredients, your lotion bars will stay fresh for six months or more.
Can I make this recipe without beeswax?
Yes, but you will need to use another wax in its place. The wax helps hold the bars together and also gives them a non-greasy feel. Soy wax is a good vegan substitute.
What can I substitute for the shea butter?
Cocoa butter, mango seed butter, and coconut oil are all great substitutes for the shea butter in this recipe.
Can I use different essential oils?
Yes! You can use your own blend of favorite essential oils, or leave them out completely for unscented bars.
I like the blend of ylang-ylang, orange, and sandalwood for a romantic feel, but other good choices are:
- 5 drops each of lavender, orange, and cedarwood for relaxation
- 8 drops each of rosemary and eucalyptus for an invigorating scent
- 5 drops each of grapefruit, tangerine, and juniper to help tone and cleanse your skin
If you try this lotion bar recipe, please rate it below and share it so your friends can enjoy it too! For more of my recipes, remedies, and lifestyle tips, follow me on Facebook, Instagram, and Pinterest.
Homemade Solid Lotion Bars with Shea Butter
Ingredients
- 1/2 cup cosmetic beeswax pastilles
- 1/2 cup shea butter
- 1/2 cup sweet almond oil
- 5 drops sandalwood essential oil
- 5 drops orange essential oil
- 5 drops ylang-ylang essential oil
- 1/2 teaspoon mica powder optional, for color
Instructions
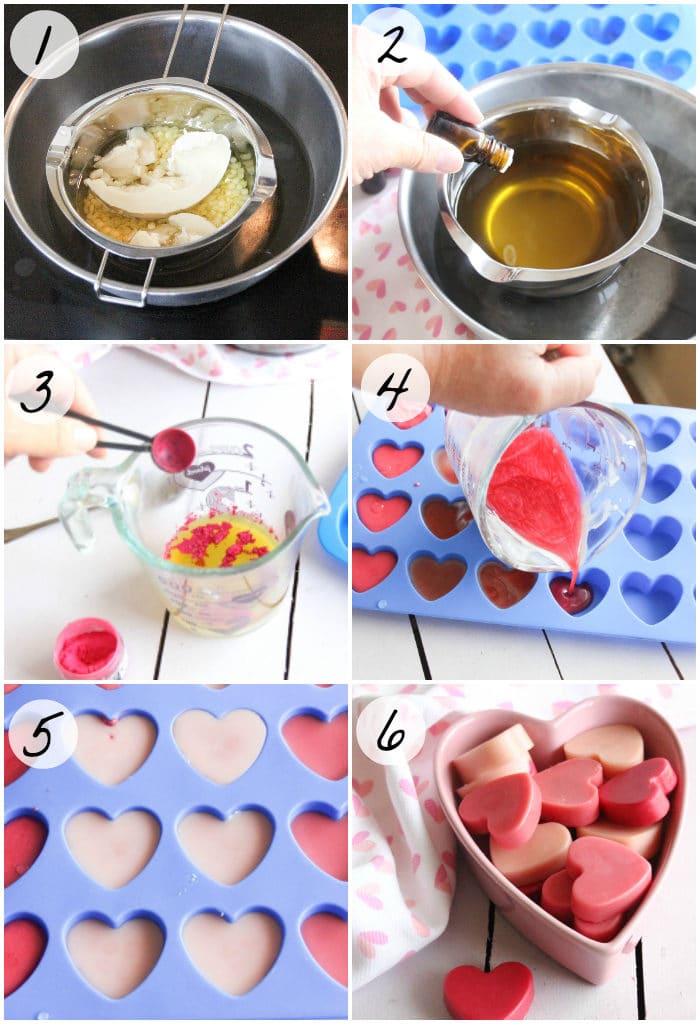
- Combine the shea butter, almond oil, and beeswax in a double boiler.
- Warm ingredients over medium heat until fully melted, stirring gently with a silicone spatula.
- Reduce heat to very low. Add your essential oil drops and stir.
- Add color if desired (separate mixture into thirds and add different colors to create multi-colored lotion bars.)
- Carefully pour the liquid mixture into the mold of your choice.
- Allow to sit and cool until solid (about one hour).
- Once your solid lotion bars have solidified, gently pop them out of the molds. Store in a mason jar for easy storage or package as a gift!
- Massage the bar directly into skin as needed, or rub with fingertips to melt and apply the lotion with your fingers.
Notes
- When creating multiple colors, leave remaining mixture over low heat until you are ready to mix and pour it (otherwise it may start to solidify).
- Store in a dry place for 6 months or more.
- You can also use these solid lotion bars in the shower to moisturize skin after cleansing.
- Use your own favorite essential oils for a custom scent, or leave them out for unscented lotion bars.
More of Our DIY Skincare Recipes
- How to Make Lip Balm for $0.60 Each
- 4 Honey Face Masks for Every Skin Type
- DIY Shaving Cream Recipe
- My Famous Whipped Coconut Oil Body Butter
Ready to learn more about essential oils? Start my FREE SUPER SIMPLE 9-STEP EMAIL COURSE to start learning – without all the stress! I focus on the absolute essentials (pun totally intended, haha) and keep everything simple. That way you can learn what you need without information overload! Start my free course now.

