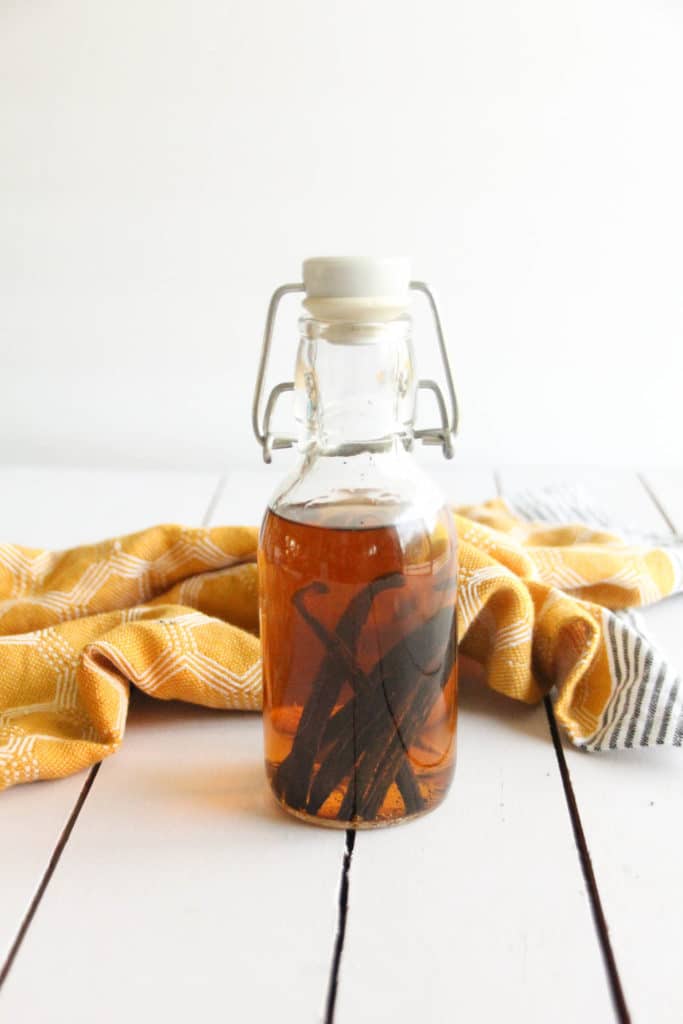
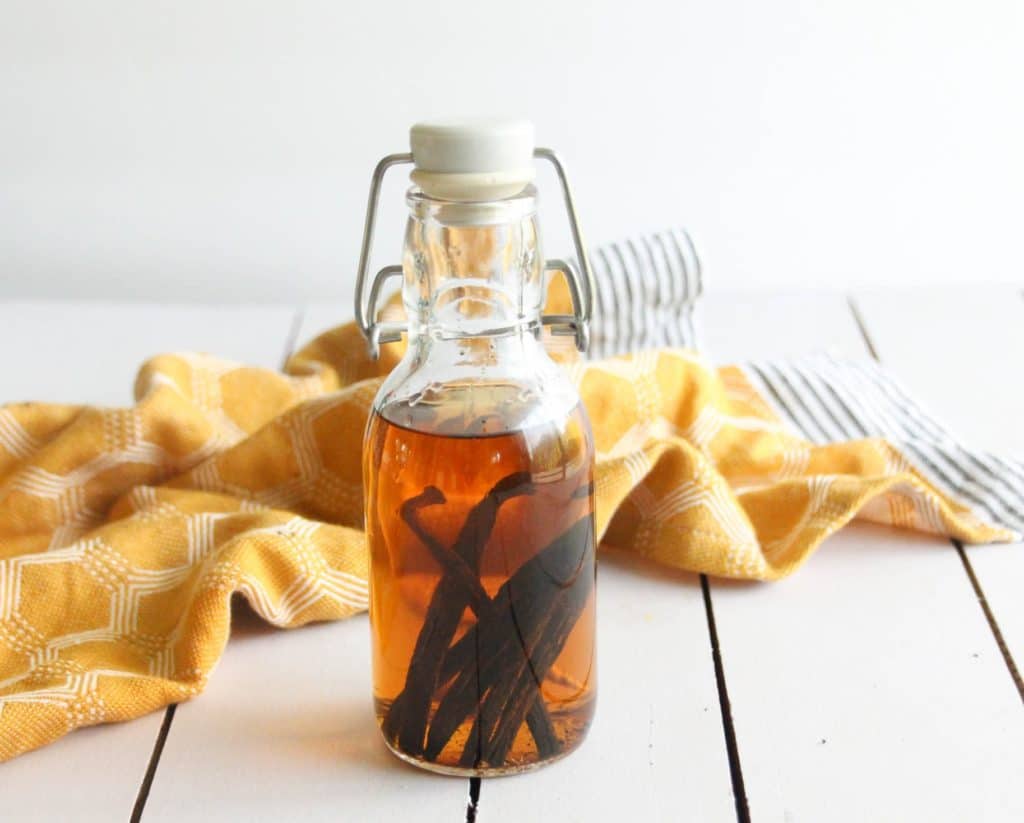
Once you learn how to make this vanilla extract recipe, you’ll never go back to storebought again! This homemade vanilla is rich in flavor but very simple to make for baking or for gifts. You can also customize the flavor by using vodka, rum, or bourbon as the base.
Choosing the right ingredients for your vanilla extract recipe
Homemade vanilla only requires two ingredients: alcohol and vanilla beans. This makes for a simple recipe, but it also means that the quality of those two ingredients can have a big impact on the flavor outcome you achieve.
A good quality vanilla extract can take your baked goods to the next level! Try using this homemade vanilla in my Giant Chocolate Chip Cookie Recipe or my Chocolate Zucchini Breakfast Muffins for even better flavor.
What’s the best alcohol to use for homemade vanilla extract?
If you’re not sure what type of alcohol to use, vodka is always a safe bet. Vodka has a very neutral flavor, so it doesn’t affect the flavor of the vanilla beans and will yield the purest vanilla flavor for your extract.
You can also use bourbon, rum, or whiskey for the alcohol in this recipe. These have stronger flavors that will show up in the final product – but they also lend a rich complexity to your vanilla extract.
Obviously, the price of the liquor you choose will affect the overall cost of your recipe. Choosing from the bottom tier prices will save you money, but might not yield the best flavor.
At the same time, you might not want to use an extravagant liquor or you’ll end up with some very expensive vanilla! I recommend choosing something at least a step or two up from the bottom so you get a good flavor outcome. If you have a favorite brand, that will be the perfect choice.
What proof of alcohol should be used when you make vanilla extract?
Generally, a solid 80 proof (40%) alcohol is perfect to make your own vanilla. This is what I recommend using.
(In case you’re curious – all the alcohol in vanilla extract evaporates during normal cooking or baking.)
Choosing the right vanilla beans for your extract recipe
There are three main types of vanilla beans you can use for your homemade extract:
- Madagascar vanilla beans – for a rich, classic vanilla flavor
- Mexican vanilla beans – for a deep, somewhat spicy flavor
- Tahitian vanilla beans – for slightly floral, fruity notes
Most recipes call for Madagascar vanilla beans, and these are always a safe choice for great flavor.
Grade A vs Grade B Vanilla Beans
Grade A vanilla beans are more expensive and contain more moisture. Although they’re top quality, they actually aren’t ideal for making your own vanilla extract. They’re not very cost effective, and their flavor is weaker.
Grade B vanilla beans (often called extract grade) contain less moisture and their flavor is more concentrated. They’re much less expensive than Grade A. This makes them ideal for homemade vanilla extract.
So if you’re cooking or baking with vanilla beans, Grade A is your best choice. But for an extract, Grade B is perfect.
Tips and Tricks for this Vanilla Extract Recipe
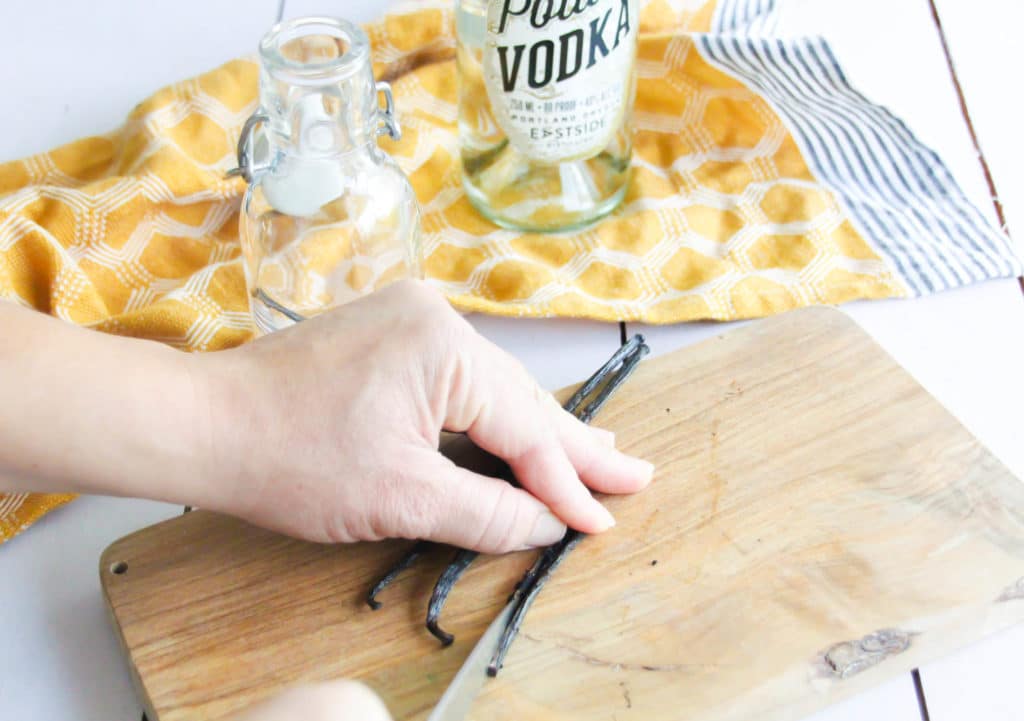
How to Slice Your Vanilla Beans
Cutting a slit down the middle of each vanilla bean will ensure a perfect infusion.
- Starting about one-half inch from the top of your vanilla bean, cut a slit into the bean.
- Stop the cut about one-half inch from the other end of the bean.
- You’re not trying to cut the bean in half. You just want to cut a slit through the skin so the alcohol can seep in and do its job during the infusion.
How Much Vanilla Extract to Make
This recipe makes 8 ounces of vanilla, but it’s easy to make more. You can easily double or triple this recipe – I recommend this if you use a lot of vanilla in baking (because it does take so long to make each batch).
You can also make multiple jars at once, which is perfect for gift giving any time of the year!
Want some cute jars for your vanilla extract? These are the best!
How long do you need to infuse your vanilla extract?
The only other thing your vanilla extract requires is time. I recommend a minimum of 6 weeks of infusion, but if you wait longer, the flavor just gets better and better. Some people recommend a 6 month infusion time for peak flavor.
Like a fine wine, your vanilla extract will become better with age, and its flavor will grow in depth and complexity.
If you plan ahead, you’ll have plenty of homemade vanilla extract for the whole year and to give as gifts.
How long can you store homemade vanilla extract?
Store your vanilla extract in an airtight container in a cool, dark place. Because it only contains alcohol and vanilla beans, your extract has a very long shelf life and will easily last for months or even years.
Its flavor will improve over time, so there’s no harm in making a big batch that will last a long time.
If you try this homemade vanilla extract recipe, please rate it below and share it so your friends can enjoy it too! For more of my recipes, remedies, and lifestyle tips, follow me on Facebook, Instagram, and Pinterest.
Homemade Vanilla Extract
Ingredients
- 3 vanilla beans
- 1 cup vodka
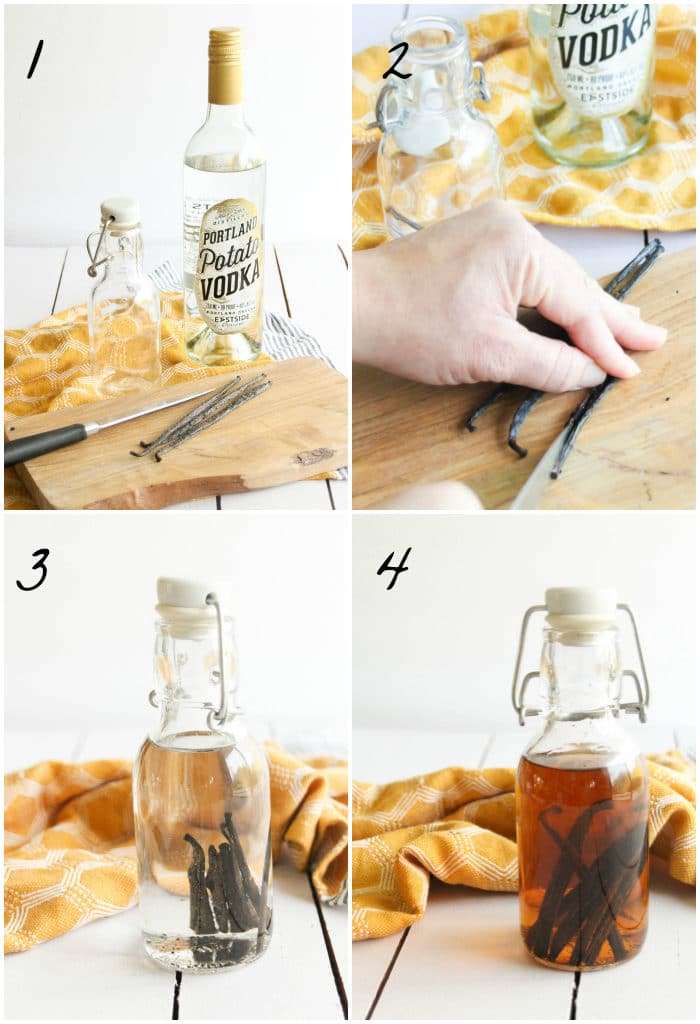
Instructions
- On a cutting board, use a sharp knife to cut a slit through the center of each vanilla bean (don't cut all the way through).
- Place the beans in a glass jar or bottle. Cover with vodka. (If the beans are too long to be submerged in the alcohol, cut them in half first.)
- Cover tightly and store in a cool, dark place for at least 6 weeks.
- Shake the mixture once per week to enhance infusion.
- After 6 weeks, you can start using your vanilla extract. Leave the beans in the vodka for a continuous infusion.
- Store your vanilla extract in a cool, dark place.
Notes
- Leave the beans in your vanilla jar after infusing - the flavor continues to improve and deeper over time.
- Store in a cool, dark place, and your vanilla will keep for more than a year!
- Use rum, bourbon, or whiskey in place of vodka to add a new depth of flavor.
- Choose grade B vanilla beans. They contain less moisture and produce a stronger flavor.
MORE REAL FOOD RECIPES:
- The Ultimate Chocolate Zucchini Muffins Recipe
- Homemade “Pedialyte” Electrolyte Drink w/ Orange Juice
- Make Your Own Taco Seasoning w/ Turmeric
