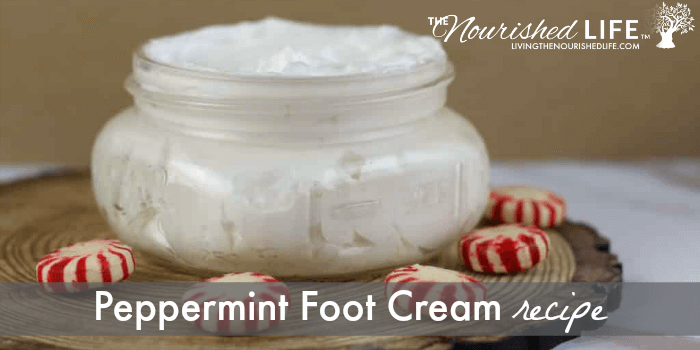
This peppermint foot cream recipe is easy to make and helps soften dry, cracked skin. The soothing peppermint feels amazing on tired feet, especially when you take a few moments to massage your feet while you work in the cream.
My poor feet have been neglected since I traded my beloved flip flops for boots. They are dry, starting to callous, and getting sore after spending most of the day on my feet.
I shared with you a peppermint foot soak and scrub recipe that I use to either scrub my feet or soak them to soften the skin. After I use that, I follow with this peppermint foot cream recipe. I also use this cream every night before I go to sleep so it can soften my skin while I sleep.
Foot massages and general foot care is important for your health. So make sure you check out these Foot Scrub Cubes with Menthol Crystals recipe and Pedi Foot Scrub with Coconut Oil, too.
Peppermint Foot Cream: Ingredients
This is a cream rather than a lotion because no water is added.
This eliminates the need for a preservative, and it makes this peppermint foot cream recipe a rich, thick cream that feels wonderful on tired, achy feet.
The base of the cream is shea butter. I like shea butter because it’s moisturizing and rich in vitamins A and E. Since it’s a butter and not an oil, it doesn’t leave an oily residue on your skin.
Shea butter is my favorite additive for dry skin because it leaves skin soft.
Coconut oil also acts as a base because it’s solid at room temperature. It’s naturally anti-fungal and antibacterial, making it an excellent choice for a foot cream recipe.
Coconut oil also moisturizes the skin with vitamin E.
I chose avocado oil for the carrier oil because it’s high in essential fatty acids, minerals, and vitamins. You can use another oil like sweet almond oil or grapeseed oil, but they won’t be as moisturizing for dry skin.
Since I have very dry skin, I prefer to use avocado oil.
And finally, the star of the show, is the peppermint essential oil.
Peppermint has a cool, refreshing scent. It’s also cooling on your skin, which is just what tired feet need after a long day.
Ready to learn more about essential oils? Start my FREE SUPER SIMPLE 9-STEP EMAIL COURSE to start learning – without all the stress! I focus on the absolute essentials (pun totally intended, haha) and keep everything simple. That way you can learn what you need without information overload! Start my free course now.
Peppermint Foot Cream Recipe
INGREDIENTS:
- ½ cup shea butter
- ½ cup coconut oil
- 4 tablespoons avocado oil
- 30 drops peppermint essential oil
Learn where I shop for high quality therapeutic essential oils online.
DIRECTIONS:
STEP #1:
It’s important to use a double boiler for this recipe. Never heat oils over direct heat. Melt the shea butter and coconut oil in a double boiler over medium low to medium heat.
STEP #2:
When the butter and oil are melted, remove the cream from heat. Add the avocado oil and stir well.
STEP #3:
Essential oils can burn off if you add them too quickly, so let it cool until it is room temperature.
Add the peppermint essential oil and stir. Place the bowl and cream in the freezer for 10 minutes. Check to see if it solidifies.
STEP #4:
Once it form a hard skin on the top but is soft on the bottom, use a stick blender or a stand mixer with a whisk attachment to mix until light and creamy.
STEP #5:
Transfer to a jar or tin.
NOTE:
Although you do not need a preservative because there is no water, you could still introduce bacteria and germs as you use the product.
This homemade peppermint foot cream generally lasts up to 6 months, but discard if it looks or smells funny.
Check out these DIY Beauty Recipes:
- 4 Honey Face Mask Ideas for Every Skin Type
- 21 Favorite Sugar Scrub Recipes
- The Ultimate Collection of DIY Lotion Recipes
- What are the Best Essential Oils For Your Skin Type?
- My Famous Whipped Coconut Oil Body Butter

Cari Dunn is homesteading on an 11.5 acre farm with her husband, three kids, 5 goats, and flock of chickens. She currently blogs at Everything Pretty where she features health and beauty tips along with DIY beauty recipes.


Leave a Reply